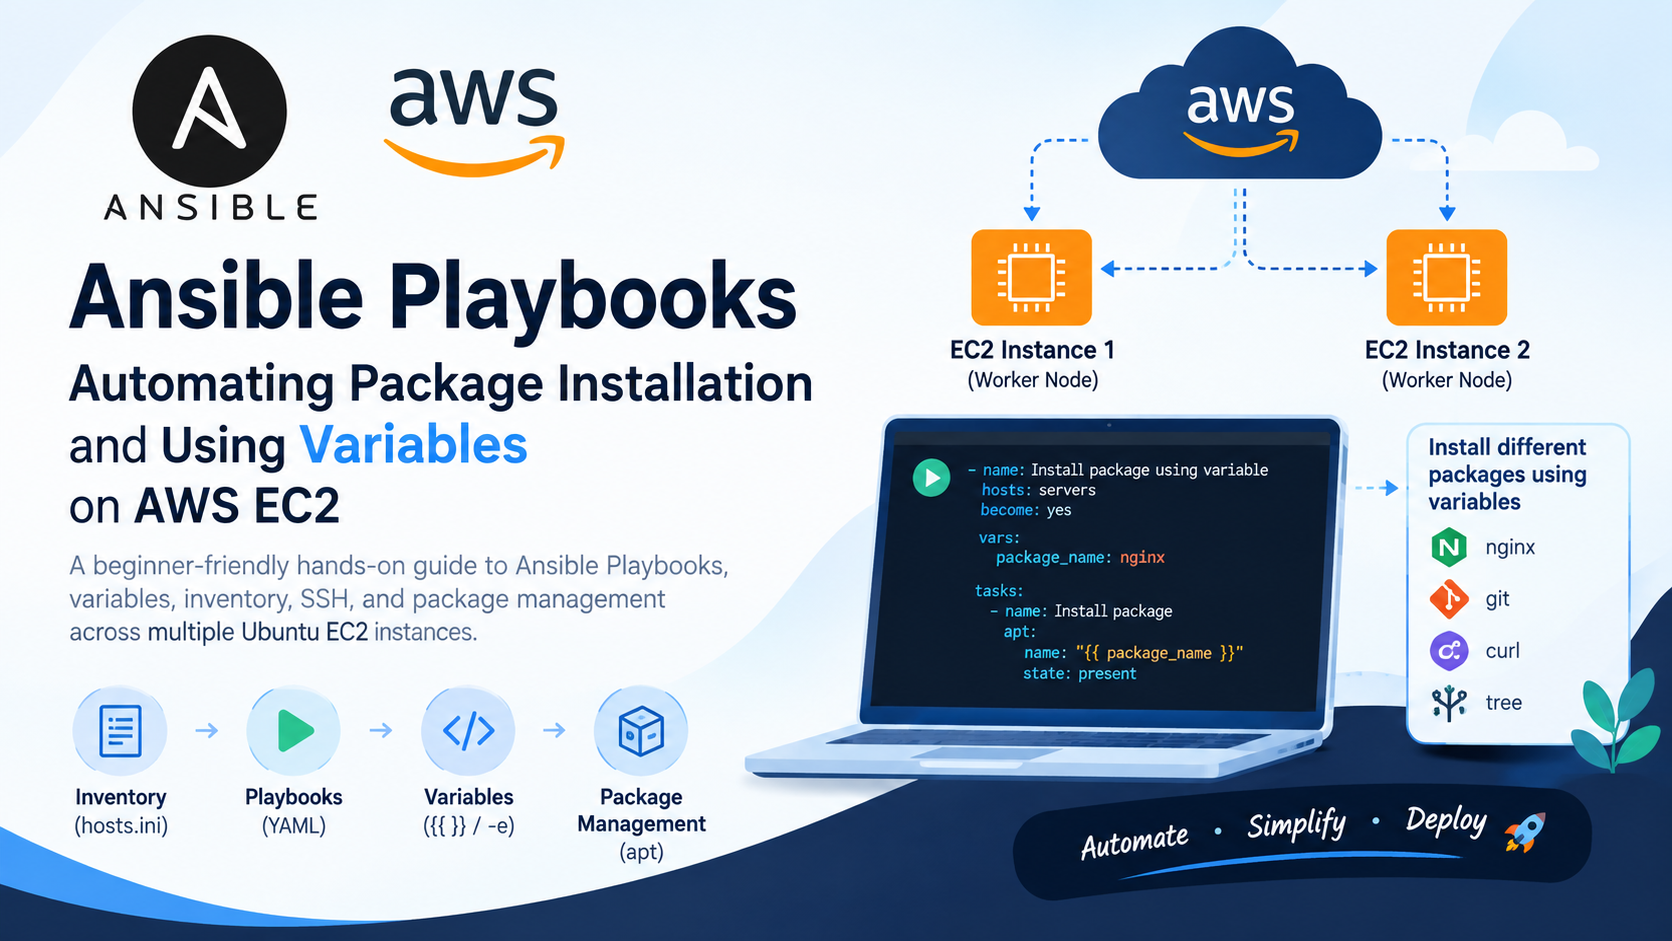
🚀 Deploy a Simple HTML Website on Multiple EC2 Servers Using Ansible
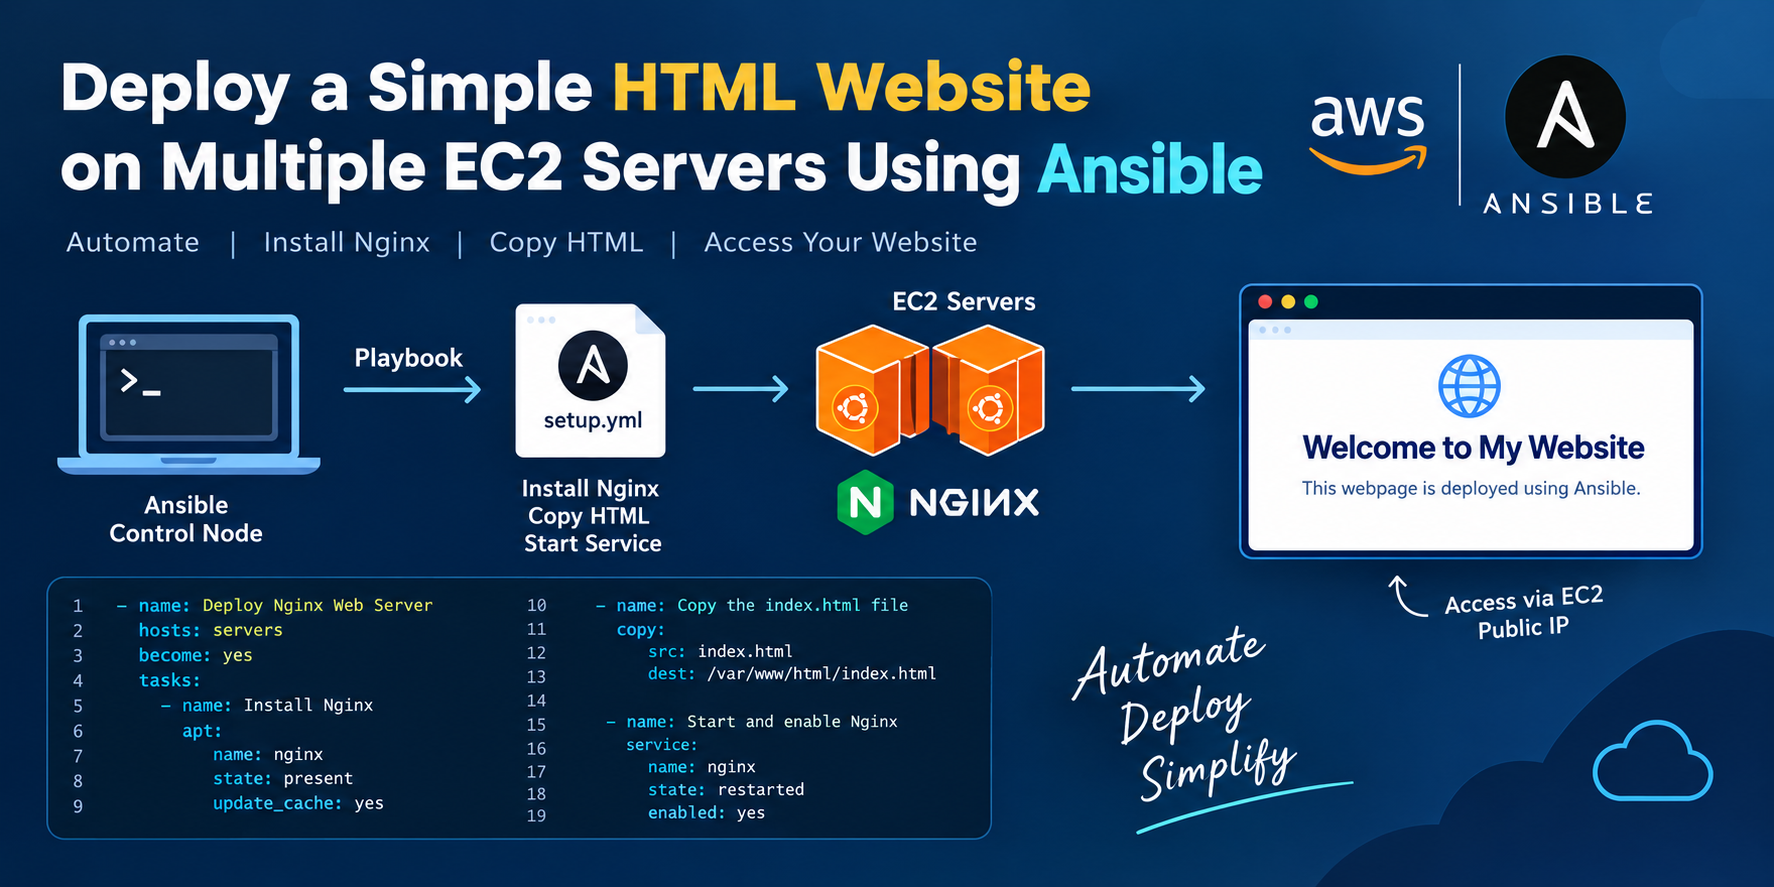
As part of my DevOps learning journey, I practiced deploying a simple HTML webpage on multiple Ubuntu EC2 servers using Ansible.
This exercise helped me understand how Ansible can automate server configuration, web-server installation, file deployment, and service management without manually configuring every server.
📌 What We Will Build
In this project, we will:
Create a simple HTML webpage.
Install Nginx on multiple EC2 servers using Ansible.
Copy the HTML file to the Nginx web directory.
Start and enable the Nginx service.
Access the webpage through the EC2 public IP.
Architecture
                Ansible Control Node
                        |
                        |
              Ansible Playbook
                        |
            -----------------------
            |                     |
            ▼                     ▼
       EC2 Server 1          EC2 Server 2
         Ubuntu                Ubuntu
            |                     |
          Nginx                 Nginx
            |                     |
        index.html             index.html
🛠️ Prerequisites
Before starting, you should have:
AWS account
Ubuntu EC2 instances
Ansible installed on the control node
SSH connectivity between the Ansible control node and target servers
An inventory file
Security Group allowing:
SSH — Port
22HTTP — Port
80
📁 Project Structure
My project directory looks like this:
playbooks/
├── index.html
└── setup.yml
The index.html file contains our webpage, while setup.yml contains the Ansible automation.
🌐 Step 1: Create the HTML Webpage
First, move into the playbooks directory:
cd ~/playbooks
Create the HTML file:
vim index.html
Add the following HTML:
<!DOCTYPE html>
<html lang="en">
<head>
<meta charset="UTF-8">
<meta name="viewport" content="width=device-width, initial-scale=1.0">
<title>My Simple Website</title>
<style>
body {
font-family: Arial, sans-serif;
margin: 0;
background-color: #f4f4f4;
text-align: center;
}
header {
background-color: #333;
color: white;
padding: 20px;
}
nav {
background-color: #555;
padding: 10px;
}
nav a {
color: white;
text-decoration: none;
margin: 15px;
}
nav a:hover {
text-decoration: underline;
}
main {
padding: 40px 20px;
}
button {
padding: 10px 20px;
font-size: 16px;
cursor: pointer;
}
footer {
background-color: #333;
color: white;
padding: 15px;
margin-top: 40px;
}
</style>
</head>
<body>
<header>
<h1>Welcome to My Website</h1>
<p>A simple website made with HTML and CSS</p>
</header>
<nav>
<a href="#home">Home</a>
<a href="#about">About</a>
<a href="#contact">Contact</a>
</nav>
<main>
<section id="home">
<h2>Home</h2>
<p>Hello! This is my first simple website.</p>
<button>Learn More</button>
</section>
<section id="about">
<h2>About</h2>
<p>This website was created using basic HTML and CSS.</p>
</section>
<section id="contact">
<h2>Contact</h2>
<p>Email: example@email.com</p>
</section>
</main>
<footer>
<p>© 2026 My Simple Website</p>
</footer>
</body>
</html>
Save and exit the file.
📋 Step 2: Create the Ansible Playbook
Create the playbook:
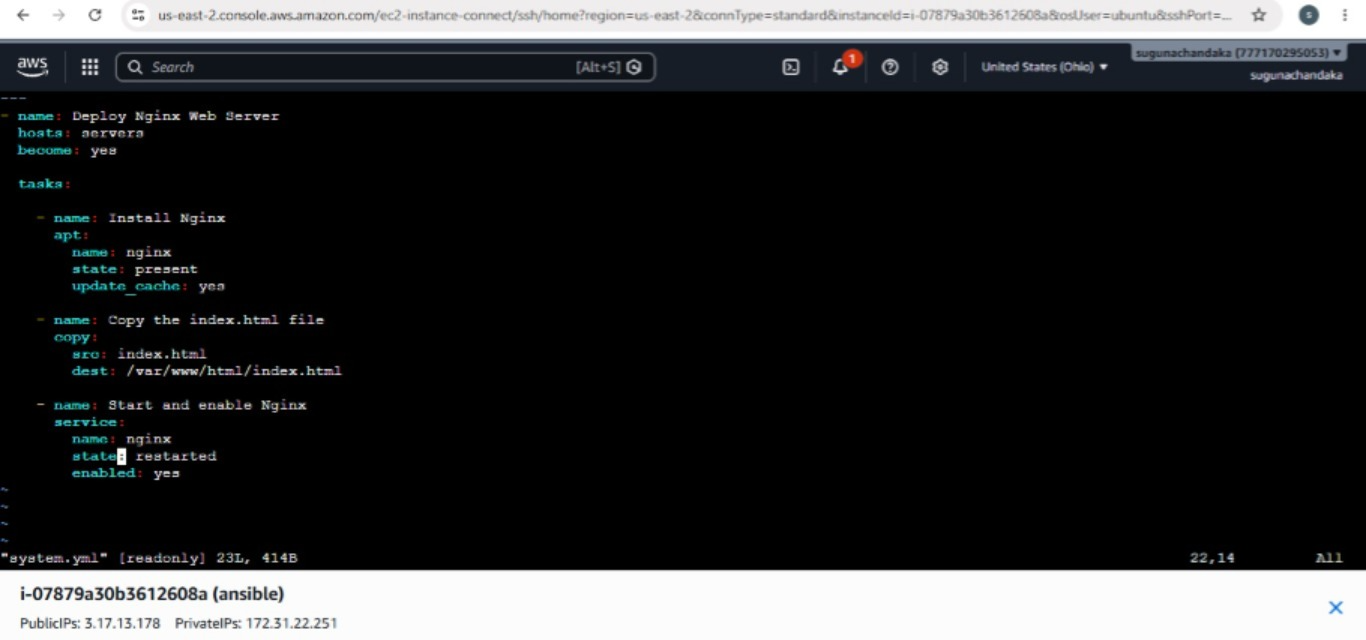
vim system.yml
Add the following configuration:
---
- name: Deploy Nginx Web Server
  hosts: servers
  become: yes

  tasks:

    - name: Install Nginx
      apt:
        name: nginx
        state: present
        update_cache: yes

    - name: Copy the index.html file
      copy:
        src: index.html
        dest: /var/www/html/index.html

    - name: Start and enable Nginx
      service:
        name: nginx
        state: restarted
        enabled: yes
🔍 Understanding the Playbook
Let's understand each section.
name
- name: Deploy Nginx Web Server
This gives a descriptive name to our play.
hosts
hosts: servers
This tells Ansible to execute the tasks on the hosts belonging to the servers group in the inventory file.
For example:
[servers]
worker-node-1
worker-node-2
become
become: yes
This allows Ansible to execute tasks with elevated privileges, similar to using sudo.
Installing packages and modifying /var/www/html generally require administrative privileges.
📦 Installing Nginx
The first task is:
- name: Install Nginx
  apt:
    name: nginx
    state: present
    update_cache: yes
This uses Ansible's apt module.
It:
Updates the package cache.
Installs Nginx.
Ensures Nginx is present on the target servers.
📄 Copying the HTML File
The next task is:
- name: Copy the index.html file
  copy:
    src: index.html
    dest: /var/www/html/index.html
Here:
src: index.html
means the file on the Ansible control node.
And:
dest: /var/www/html/index.html
is the location on the target EC2 server.
The default Nginx web directory on Ubuntu is commonly:
/var/www/html/
Therefore, Ansible copies our webpage into the Nginx document root.
⚙️ Start and Enable Nginx
The final task is:
- name: Start and enable Nginx
  service:
    name: nginx
    state: restarted
    enabled: yes
This ensures Nginx is running and configured to start automatically when the server boots.
▶️ Step 3: Run the Ansible Playbook
If your inventory file is located one directory above the playbooks directory:
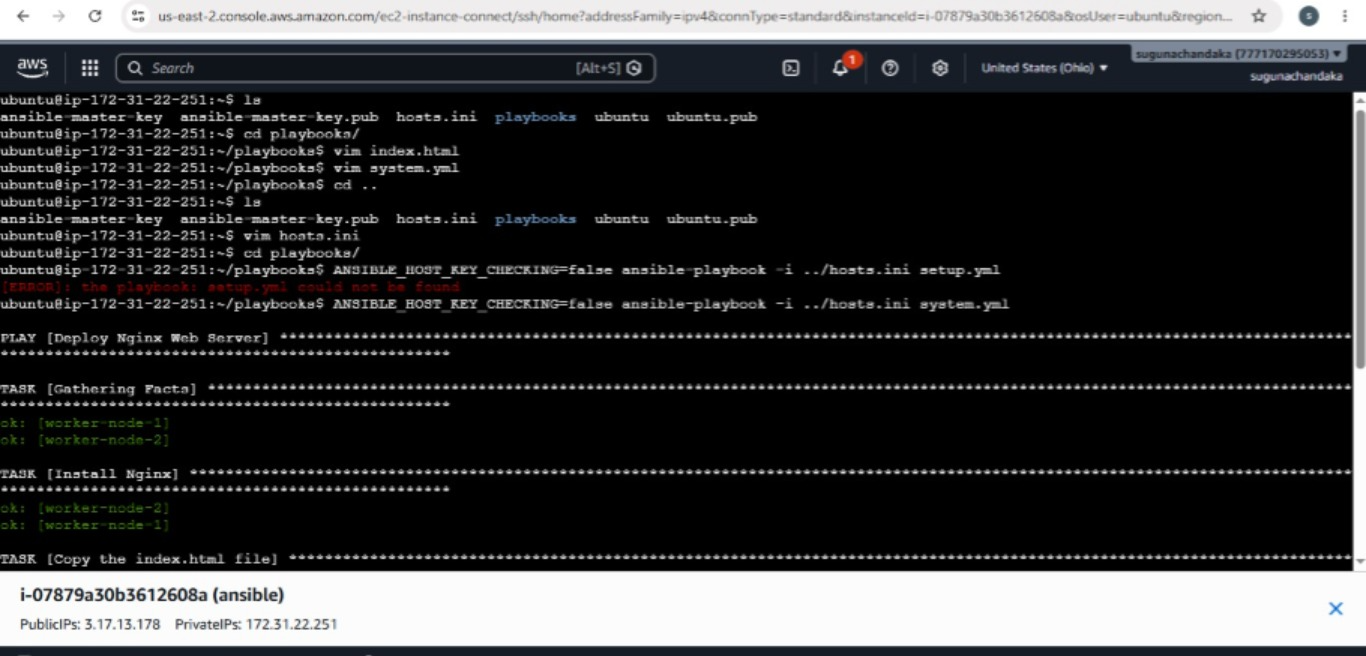
ANSIBLE_HOST_KEY_CHECKING=false ansible-playbook -i ../hosts.ini system.yml
You can also use:
ansible-playbook -i ../hosts.ini setup.yml
if host-key checking is already configured appropriately.
📊 Expected Output
You should see output similar to:
PLAY [Deploy Nginx Web Server] ********************************

TASK [Gathering Facts] ****************************************
ok: [worker-node-1]
ok: [worker-node-2]

TASK [Install Nginx] *******************************************
changed: [worker-node-1]
changed: [worker-node-2]

TASK [Copy the index.html file] *******************************
changed: [worker-node-1]
changed: [worker-node-2]

TASK [Start and enable Nginx] *********************************
changed: [worker-node-1]
changed: [worker-node-2]

PLAY RECAP ****************************************************
worker-node-1    : ok=4  changed=3  failed=0
worker-node-2    : ok=4  changed=3  failed=0
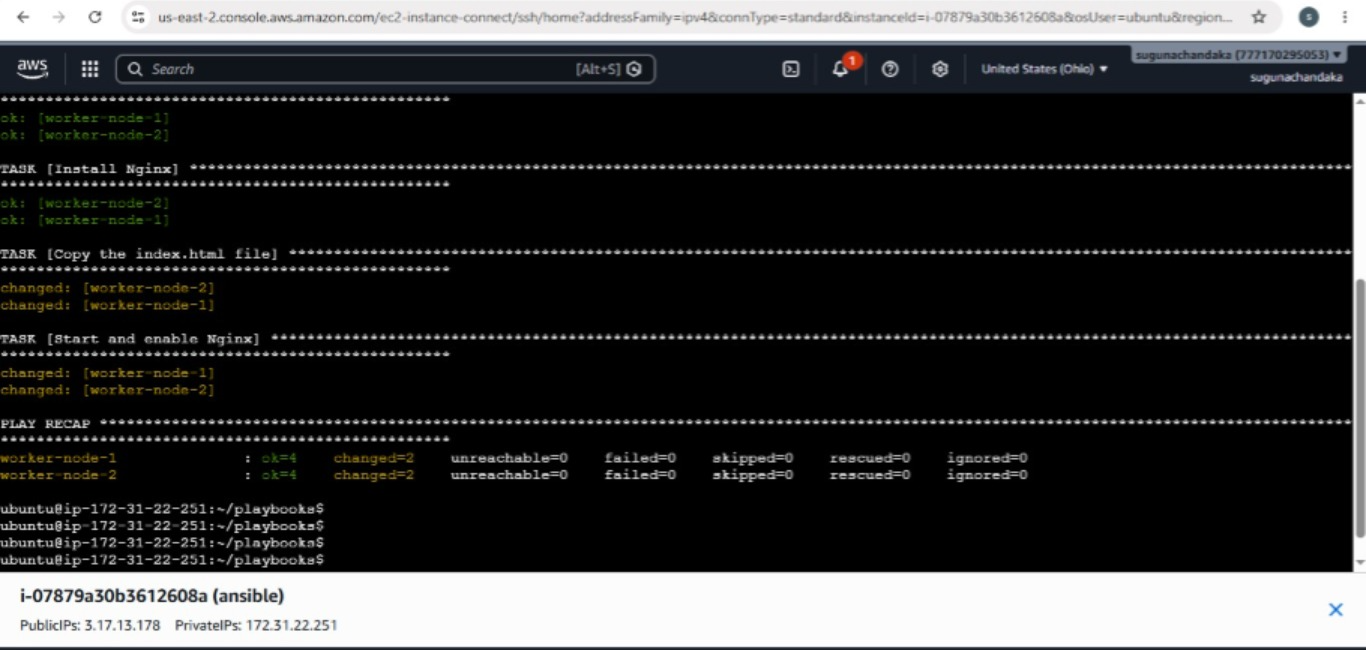
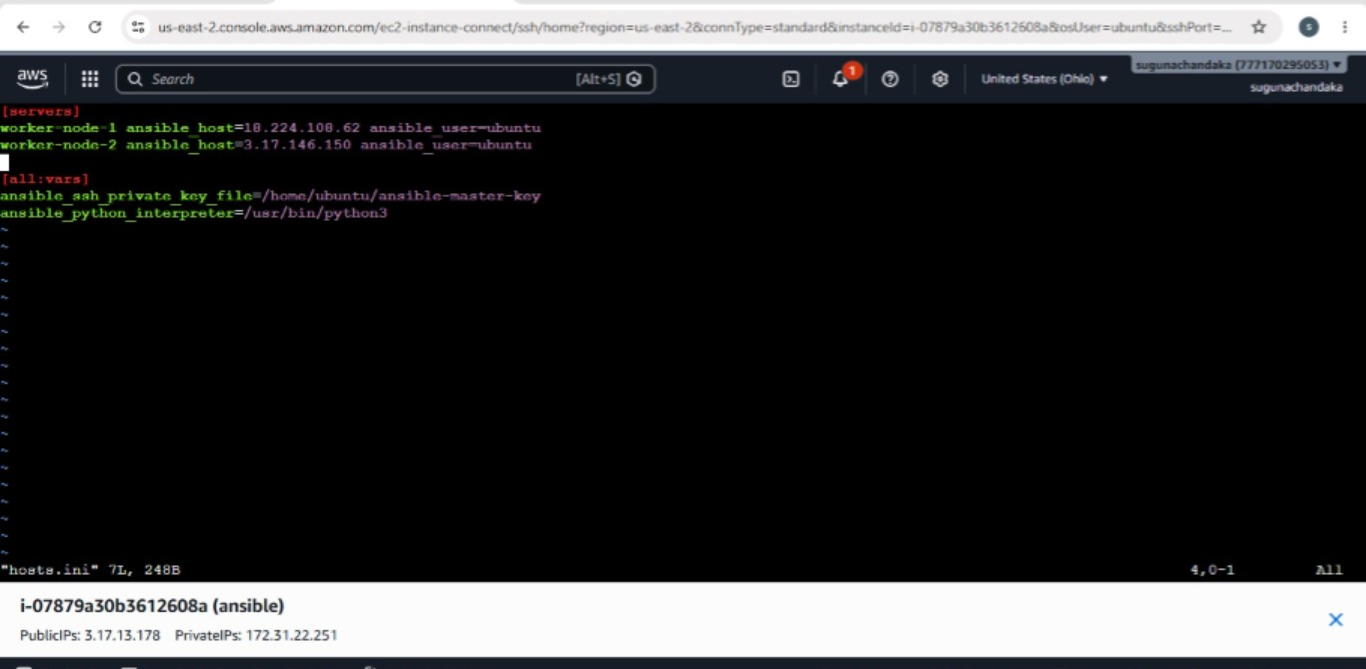
The exact output can vary depending on whether Nginx is already installed and whether the files are already present.
🌍 Step 4: Access the Website
After the playbook successfully completes, find the Public IPv4 address of your EC2 instance.
Open a browser and enter:
http://<EC2-PUBLIC-IP>
For example:
http://13.234.XX.XX
You should see:
Welcome to My Website

This webpage is deployed using Ansible.
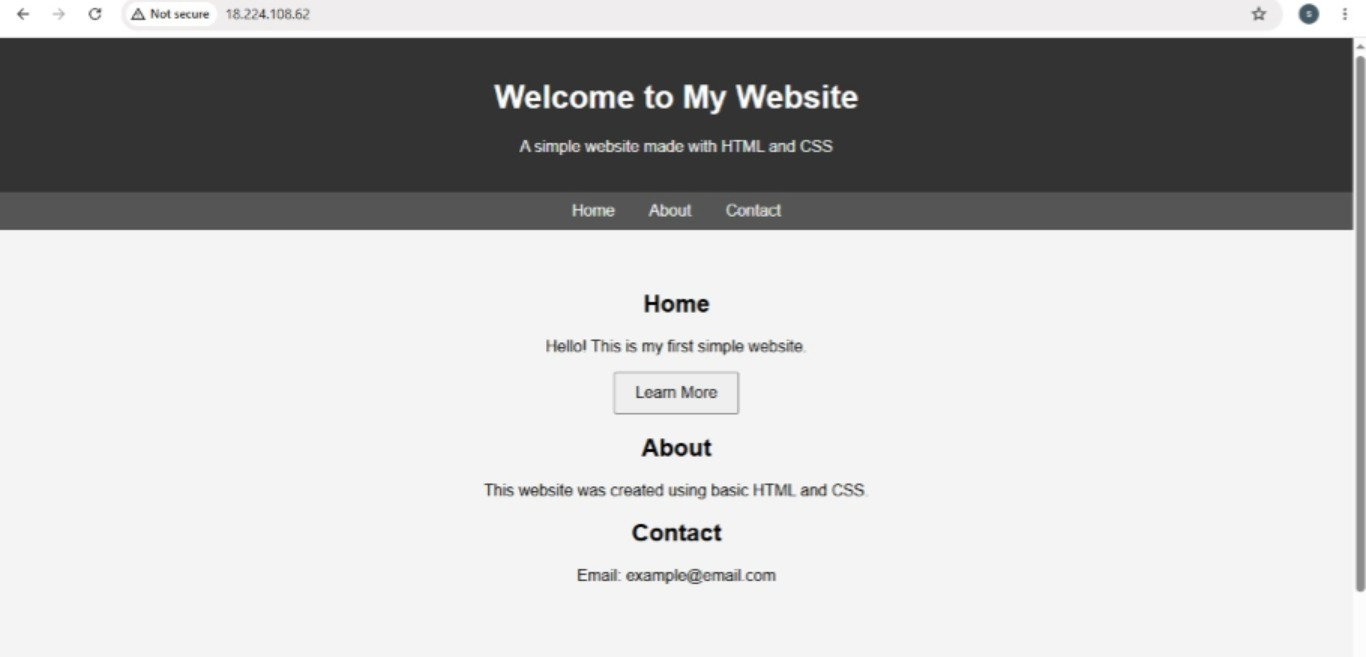
🔐 AWS Security Group Configuration
For the webpage to be accessible from the internet, make sure your EC2 Security Group allows HTTP traffic.
Example:
| Type | Port | Source |
|---|---|---|
| SSH | 22 | Your IP |
| HTTP | 80 | 0.0.0.0/0 |
For production environments, access rules should be restricted according to your security requirements.
🤖 Why Use Ansible?
Without Ansible, you might manually connect to every server:
ssh ubuntu@server1
Install Nginx:
sudo apt update
sudo apt install nginx -y
Copy the webpage:
sudo cp index.html /var/www/html/
Then repeat the same process for every server.
With Ansible, we define the desired configuration once:
ansible-playbook -i ../hosts.ini setup.yml
Ansible can then perform the same tasks across all servers in the inventory.
🚀 Conclusion
This was a simple but useful DevOps automation project.
Instead of manually installing Nginx and copying files to every server, Ansible allows us to automate the entire process using a single playbook.
The basic workflow is:
Create HTML
     ↓
Create Ansible Playbook
     ↓
Install Nginx
     ↓
Copy index.html
     ↓
Start/Enable Nginx
     ↓
Access Website
This concept can be extended further to automate complete web-server deployments, application deployments, configuration management, and multi-server environments.