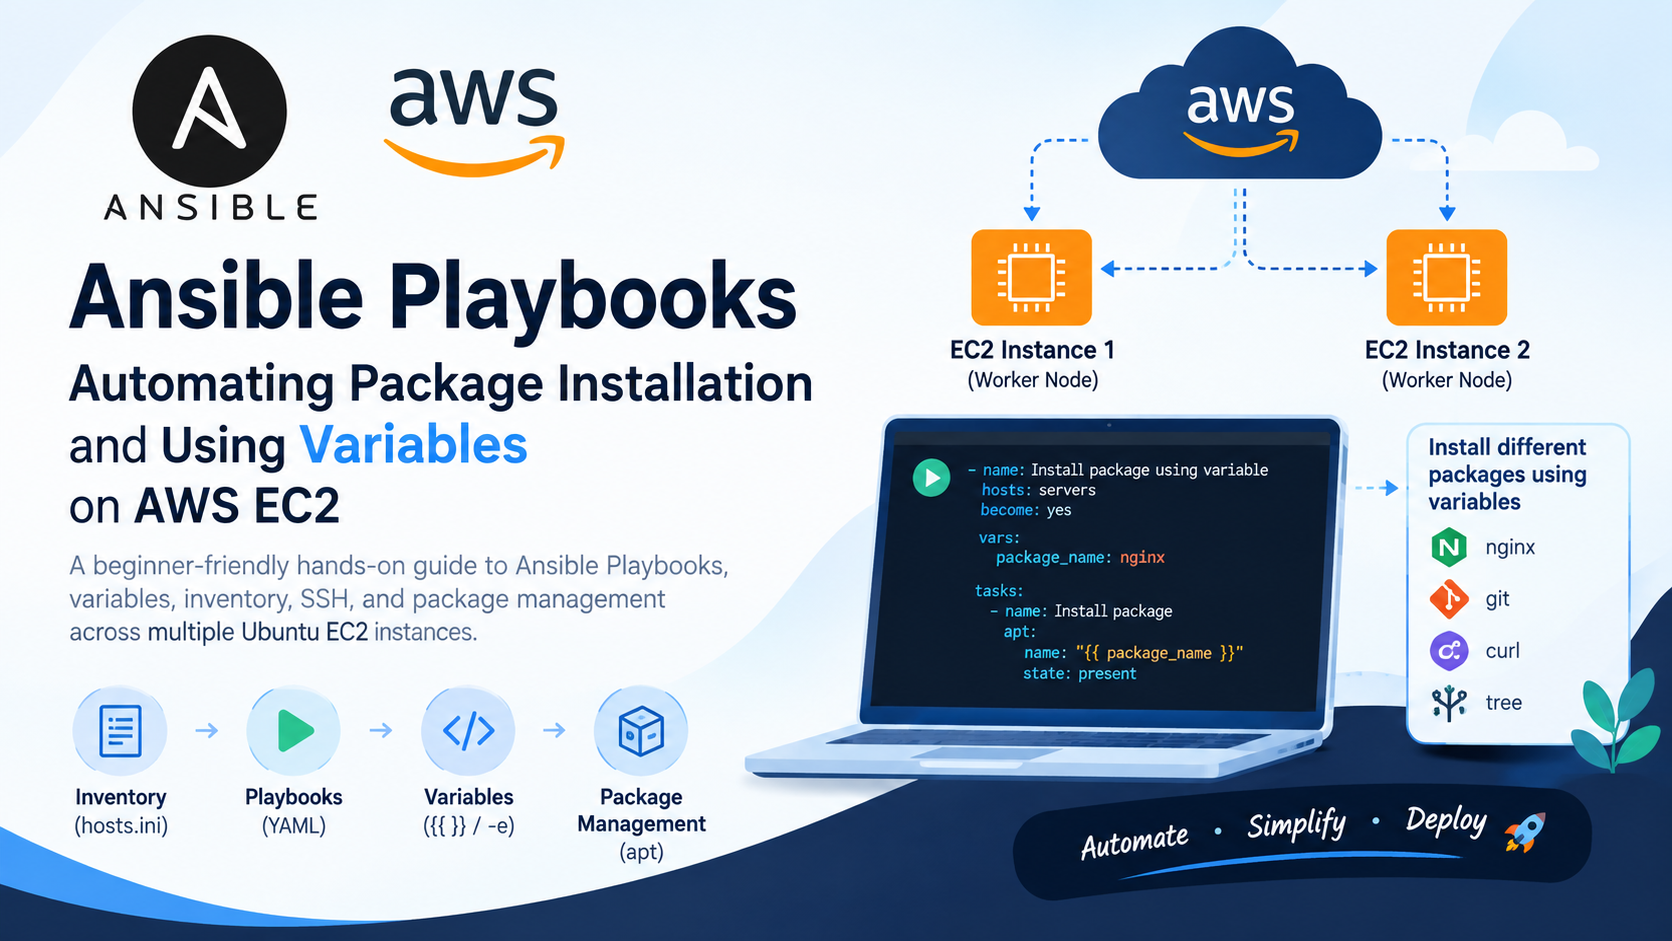
Automating Package Installation on Multiple Servers Using Ansible

If you are managing multiple Linux servers, installing packages manually on every server can become repetitive and time-consuming.
With Ansible, we can automate package installation across multiple servers using a simple playbook. In this example, we will:
Define a list of packages using variables
Install multiple packages using a loop
Use
aptto install packages on Ubuntu/Debian serversDisplay a message for every package being processed
Verify the installation
This is a beginner-friendly Ansible exercise and is useful for understanding variables, loops, tasks, and package management.
📌 What We Are Going to Build
Our Ansible playbook will install the following packages:
tree
zip
unzip
wget
java
apache2
The basic structure will look like this:
Ansible Controller
       |
       | SSH
       |
       +-------------------+
       |                   |
   Server 1             Server 2
   Ubuntu               Ubuntu
       |                   |
       +---- Install packages
Instead of logging into each server and running:
sudo apt install tree
sudo apt install zip
sudo apt install unzip
sudo apt install wget
sudo apt install apache2
we can let Ansible perform the work automatically.
1. Prerequisites
Before starting, make sure you have:
Ansible installed on the control machine
One or more Ubuntu/Debian servers
SSH connectivity between the Ansible controller and managed servers
A user with
sudoprivileges
Check Ansible:
ansible --version
Test connectivity to your servers:
ansible servers -m ping
Expected output:
SUCCESS
"ping": "pong"
2. Ansible Inventory
First, create an inventory file.
For example:
[servers]
server1 ansible_host=SERVER_1_IP
server2 ansible_host=SERVER_2_IP

[servers:vars]
ansible_user=ubuntu
Replace the IP addresses with the private/public IP addresses of your servers as appropriate for your environment.
You can test the inventory with:
ansible-inventory --graph
3. Create the Ansible Playbook
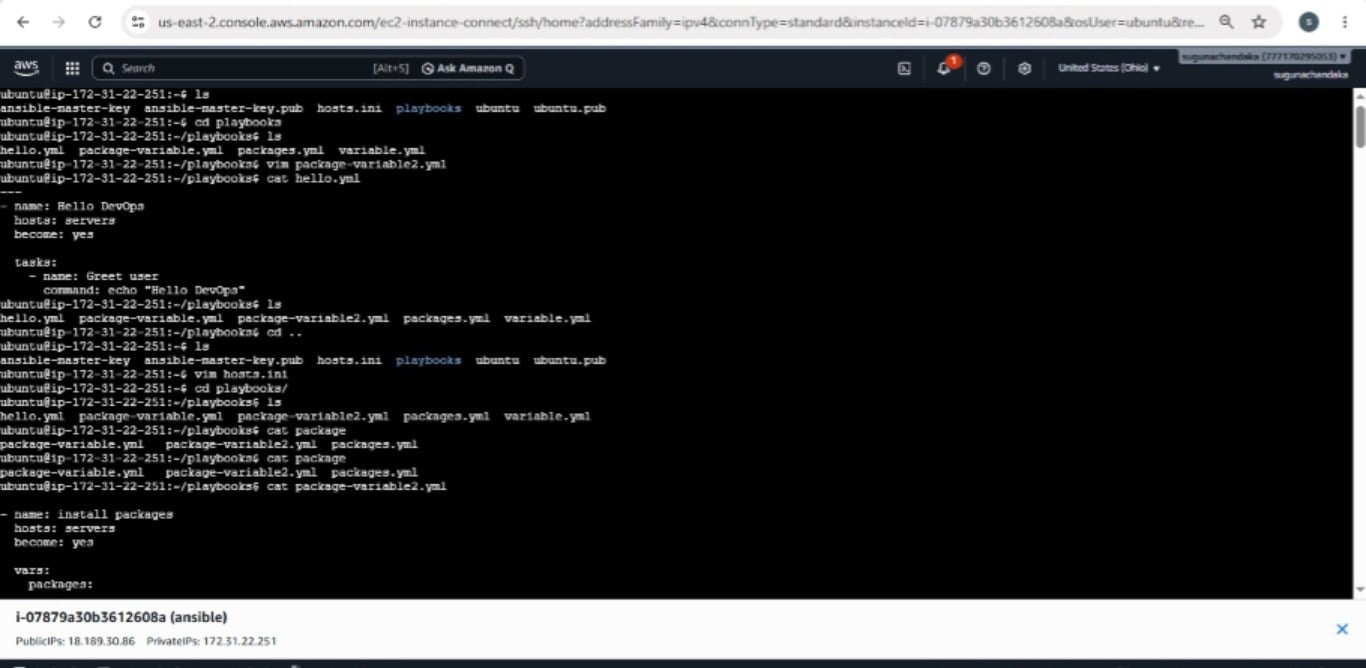
Create a file:
nano install-packages.yml
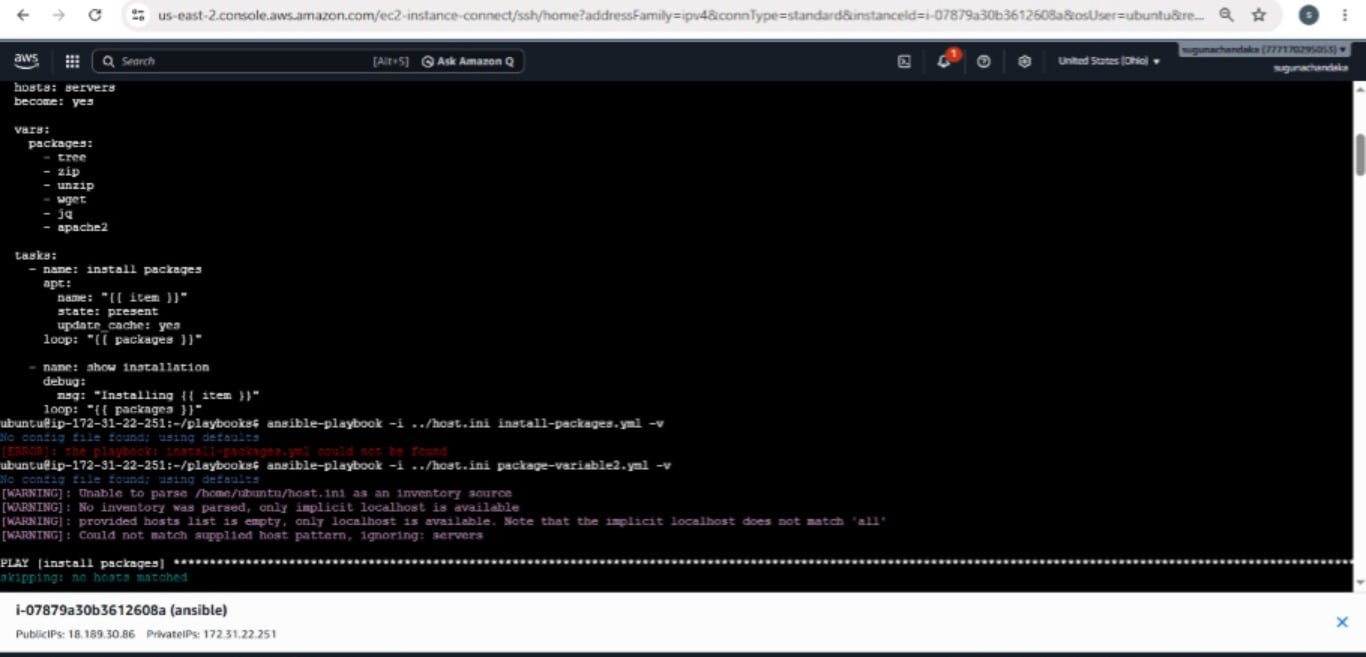
Add the following:
---
- name: Install packages
  hosts: servers
  become: yes

  vars:
    packages:
      - tree
      - zip
      - unzip
      - wget
      - default-jre
      - apache2

  tasks:

    - name: Install packages
      apt:
        name: "{{ item }}"
        state: present
        update_cache: yes
      loop: "{{ packages }}"

    - name: Show installation
      debug:
        msg: "Installing {{ item }}"
      loop: "{{ packages }}"
Note: Your handwritten notes appear to use
jv; if you meant Java,default-jreis a suitable Ubuntu/Debian package name. You can also usedefault-jdkif you need the Java development tools.
4. Understanding the Playbook
Let's understand each section.
Play Name
- name: Install packages
This gives a name to our Ansible play.
It makes the playbook output easier to understand.
Selecting the Servers
hosts: servers
This tells Ansible to run the playbook against the group named servers in our inventory.
For example:
[servers]
server1
server2
Both servers will receive the tasks.
5. Using Become
become: yes
Package installation requires administrative privileges.
become: yes tells Ansible to use privilege escalation, normally through sudo.
It is similar to manually running:
sudo apt install tree
6. Defining Packages Using Variables
This is one of the important parts of the exercise:
vars:
  packages:
    - tree
    - zip
    - unzip
    - wget
    - default-jre
    - apache2
Here, packages is a variable containing a list of package names.
Instead of writing separate tasks for every package, we create one list.
For example:
packages:
  - tree
  - zip
  - unzip
This makes the playbook easier to maintain.
If we want to install another package later, we simply add it:
packages:
  - tree
  - zip
  - unzip
  - wget
  - default-jre
  - apache2
  - git
No additional installation task is required.
7. Installing Packages Using a Loop
The main task is:
- name: Install packages
  apt:
    name: "{{ item }}"
    state: present
    update_cache: yes
  loop: "{{ packages }}"
Here we use the Ansible apt module.
The important part is:
loop: "{{ packages }}"
Ansible takes every value from the packages list and assigns it to:
{{ item }}
For example, during execution:
item = tree
item = zip
item = unzip
item = wget
item = default-jre
item = apache2
So Ansible effectively performs the task for each package.
8. What Does {{ item }} Mean?
This is a very important Ansible concept.
Consider:
loop:
  - tree
  - zip
  - unzip
When Ansible runs the loop:
{{ item }}
represents the current value.
For example:
First iteration  → item = tree
Second iteration → item = zip
Third iteration  → item = unzip
Therefore:
name: "{{ item }}"
becomes:
name: tree
then:
name: zip
then:
name: unzip
9. Checking What Is Being Installed
The second task uses the debug module:
- name: Show installation
  debug:
    msg: "Installing {{ item }}"
  loop: "{{ packages }}"
This doesn't install anything.
It simply displays a message for every item in the list.
For example:
Installing tree
Installing zip
Installing unzip
Installing wget
Installing default-jre
Installing apache2
This is useful when learning loops and when debugging playbooks.
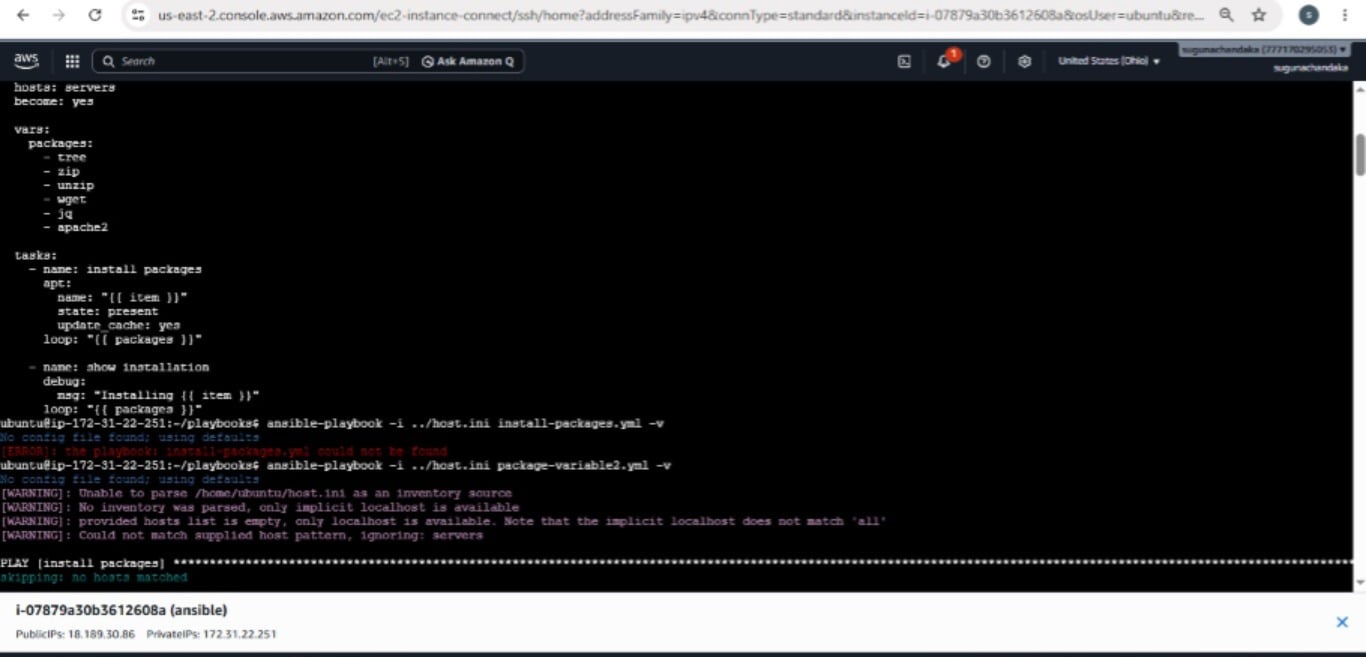
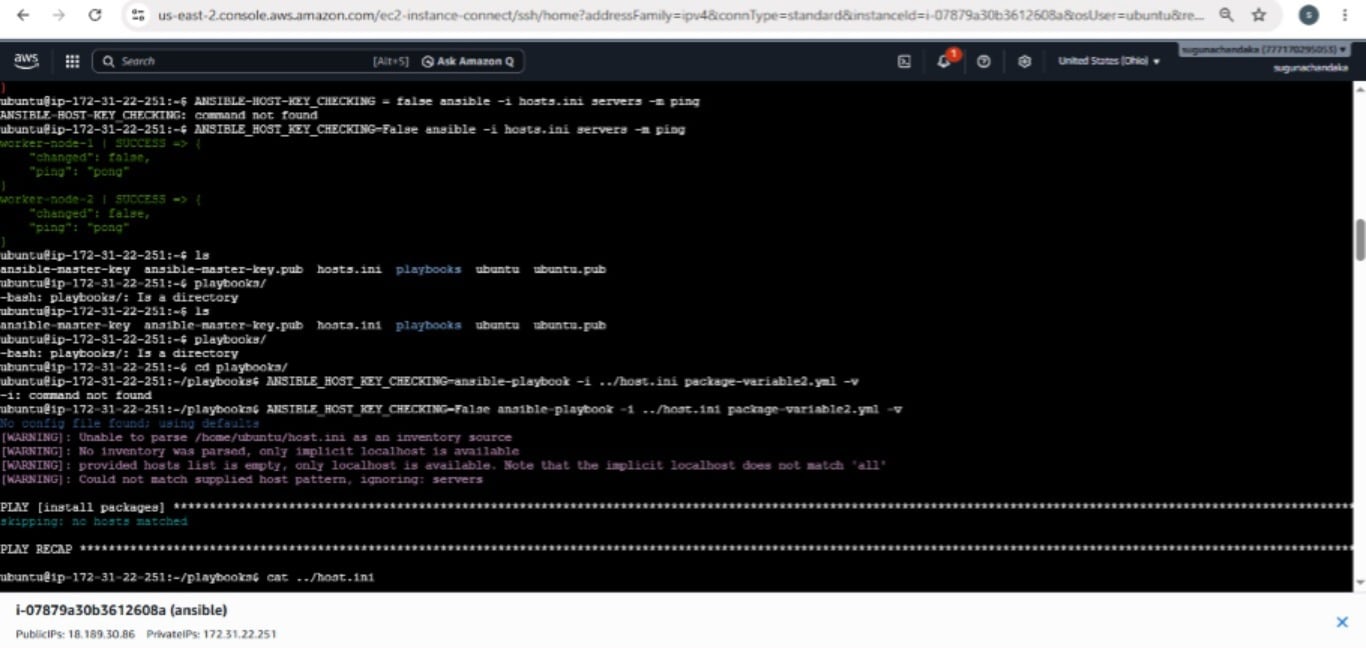
10. Run the Playbook
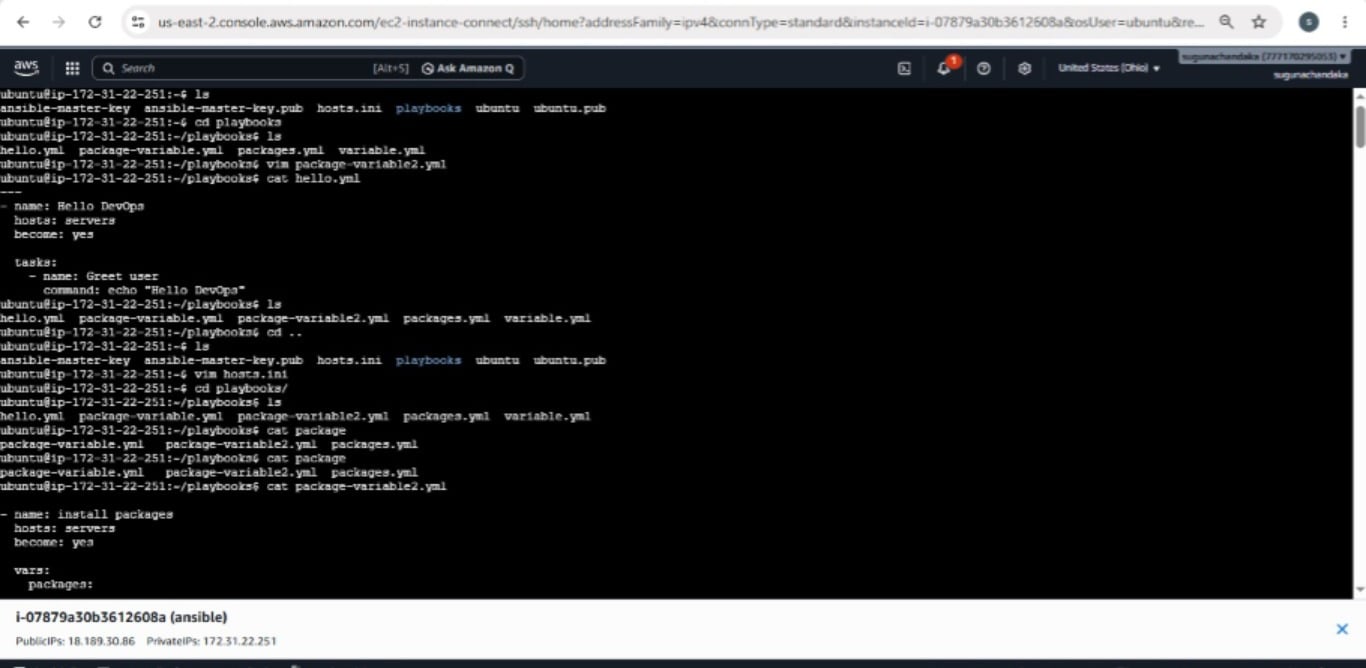
Now execute:
ANSIBLE_HOST_KEY_CHECKING=false ansible-playbook -i ../host.ini package-variable2.yml -v
You should see output similar to:
PLAY [Install packages] ****************************************

TASK [Gathering Facts] *****************************************
ok: [server1]
ok: [server2]

TASK [Install packages] ***************************************
changed: [server1]
changed: [server2]

TASK [Show installation] **************************************
ok: [server1] => (item=tree)
ok: [server1] => (item=zip)
ok: [server1] => (item=unzip)

PLAY RECAP ****************************************************
server1 : ok=3 changed=1 failed=0
server2 : ok=3 changed=1 failed=0
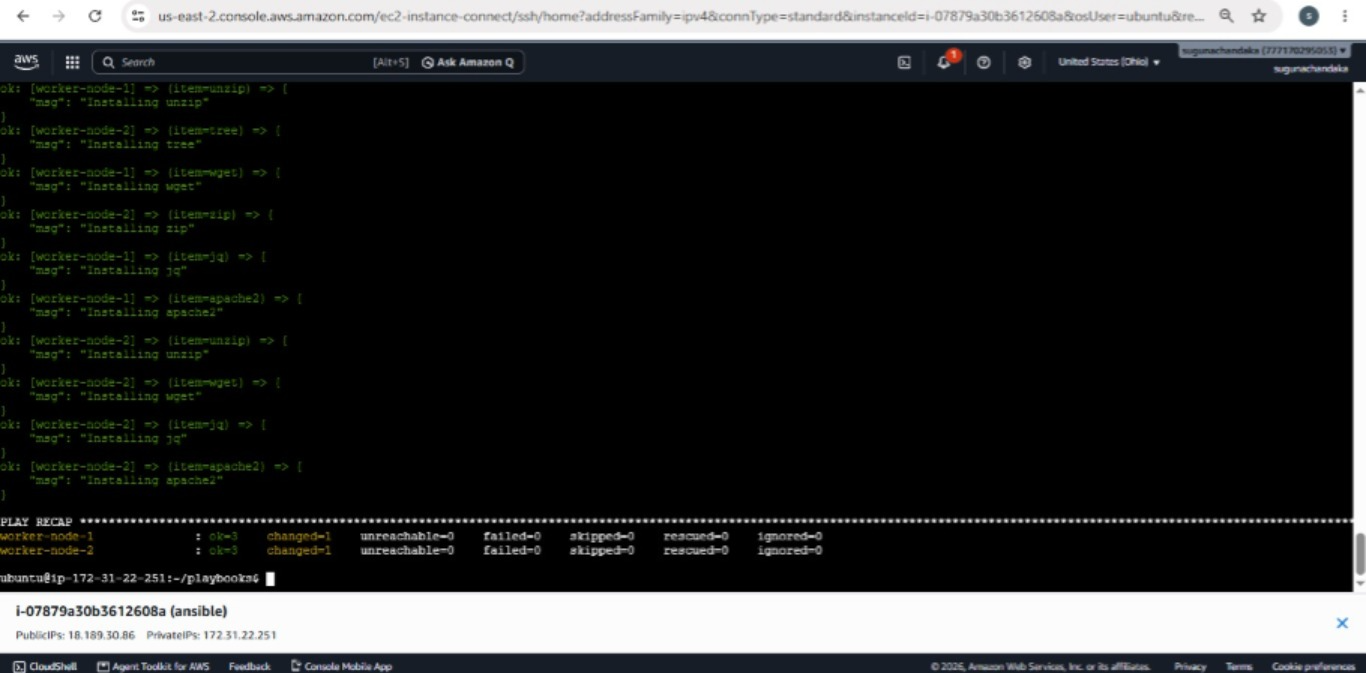
The exact output will vary depending on whether the packages are already installed.
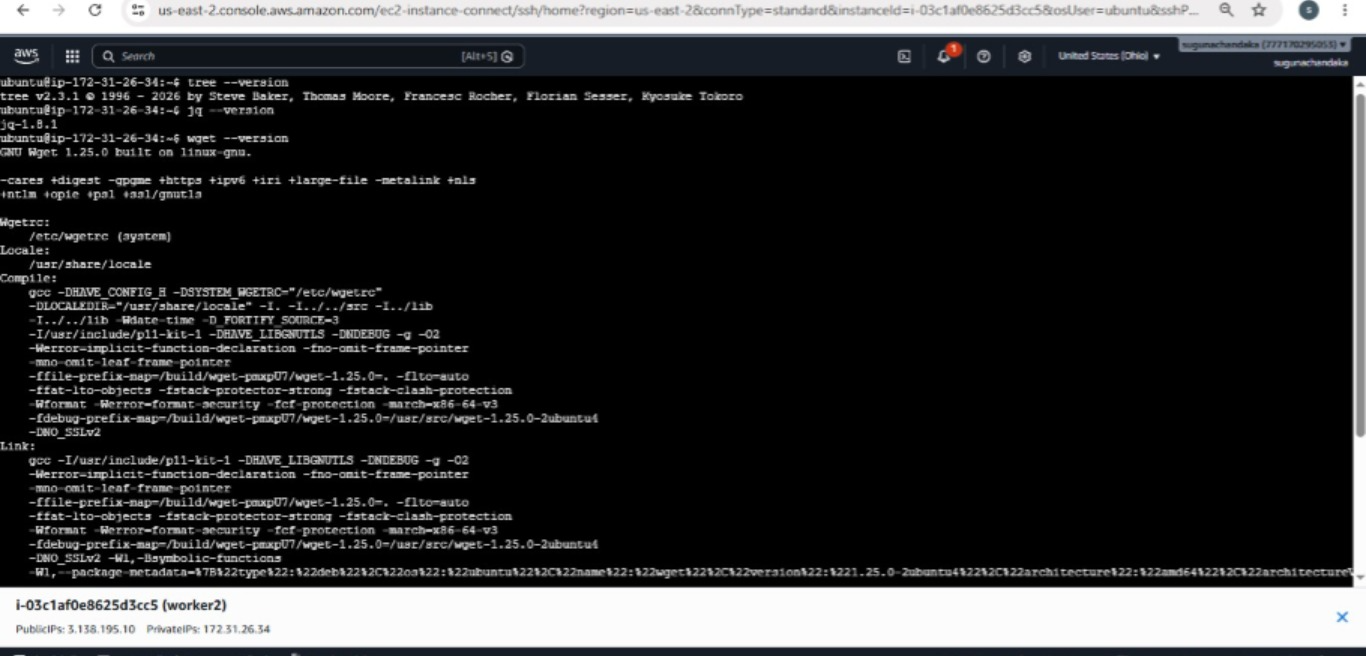
11. Verify the Packages
After running the playbook, connect to one of your Ubuntu servers:
ssh ubuntu@SERVER_IP
Check tree:
tree --version
Check wget:
wget --version
Check Apache:
apache2 -v
Check Java:
java -version
Check ZIP:
zip -v
Check UNZIP:
unzip -v
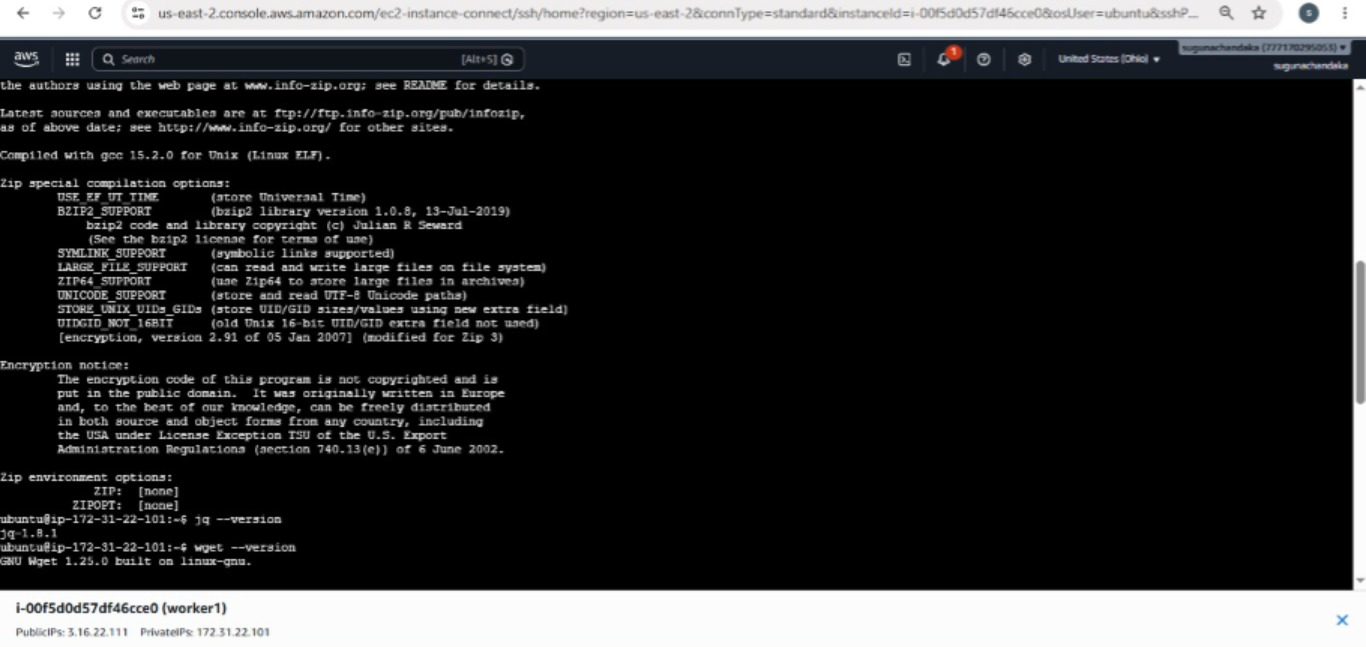
Run:
Why Use Ansible for This?
Imagine you have 50 Ubuntu servers.
Without Ansible, you might need to connect to every server and manually install packages.
With Ansible, you define the desired configuration once:
packages:
  - tree
  - zip
  - unzip
  - wget
  - apache2
Then Ansible applies it to all servers:
ansible-playbook -i inventory install-packages.yml
This provides:
⚡ Automation
🔄 Repeatability
📦 Consistent server configuration
⏱️ Time savings
📈 Easy scaling
🛠️ Less manual work
Lists
packages:
  - tree
  - zip
  - unzip
A list can contain multiple values.
Loops
loop: "{{ packages }}"
Loops allow us to execute the same task for multiple items.
item
"{{ item }}"
item represents the current value during a loop.
apt Module
apt:
Used to manage packages on Debian/Ubuntu systems.
become
become: yes
Allows Ansible to execute tasks with elevated privileges.
debug
debug:
Useful for displaying information while running a playbook.
In this exercise, I learned how to automate package installation on multiple Ubuntu servers using Ansible.
Instead of manually installing each package on every server, I used an Ansible variable to store the package list and a loop to process each package.
The most important part of the playbook is:
loop: "{{ packages }}"
combined with:
name: "{{ item }}"
This simple concept is extremely useful when writing scalable Ansible playbooks.